We all have a few LED light fixtures in our place nowadays and installing them ourselves is common as well. But you might not way, it’s easier and more convenient to use wire to board connectors for LED light installation.
Although the most ideal installation in maintaining a long-lasting LED connection is through soldering; wire to board connectors are better in terms of getting quicker progress of your project. If properly installed, wire to board connectors will stay firm and provide a more secure LEDs connection.
To properly understand how to use connectors when installing, here is the step-by-step guide.
Step 1: Tools
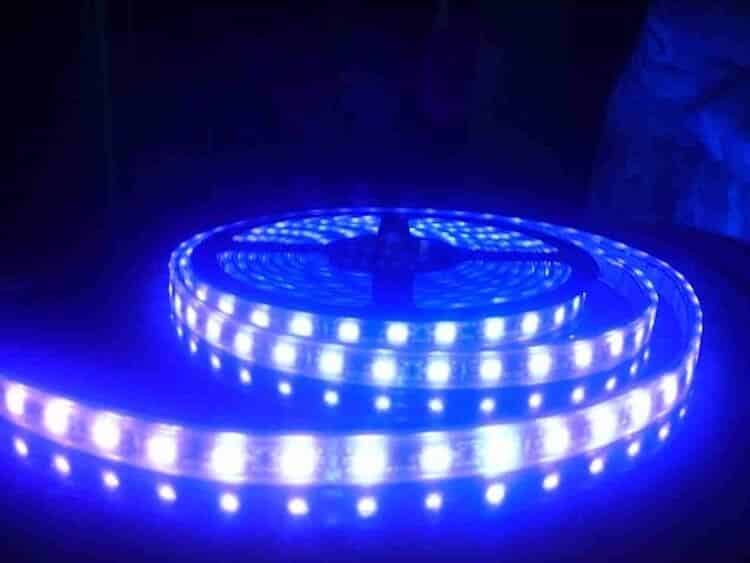
Make sure you gather all needed materials prior starting, such as scissors, 5050 LED strip lights or other types that fit your needs, wire to board connectors, and a ruler. As for scissors, you need to buy a pair of specific scissors for cutting the materials of LED strips. Otherwise, you will not make the edges neat and it also wears away the scissors.
Step 2: Measurement
Determine how many feet of the strip you require. For this, you need to measure the length and width of where you need to set LED strip lights. A ruler will be useful at this stage. An accurate measurement will bring convenience to future work. Therefore, you need to carefully measure the place.
Step 3: Cutting of LED strip
As mentioned above, LED strip lights can only be trimmed in half along the dotted lines. Carefully cut along the designated line with a sharp scissor just like it said above.
Step 4: Negative and Positive Patterns
It is very important that you take note of the negative and positive patterns of the LED strip lights. Why? The positive and negative patterns are the important factors whether the light you install will shine at the end of the work. There are instances when cutting the LED strips can get mixed up. Hence, be very keen enough when cutting.
Step 5: Wire to Board Connectors
Every wire to board connector has two panels. Make sure you have the right panel up and ensure that the wider part of the white panels is facing upward. This serves as the top portion. Be extra gentle and slowly pull the device that locks the panels away from the connectors. Do not attempt to pull the wires since wire to board connectors are frangible.
Step 6: Wire to Board and LED Strip Connection
Keep in mind that color does not matter when connecting LED and connectors together. What you need to do is to follow the positive part of the LED strip light going through the wire-to-board connector cable then to the electricity supply. Depending on which side you attached the connector too, the black and red colors can either be (+) or (-).
Step 7: Tray and LED Strip Light Security
A tray is an important tool for installing LED light strips. Connecting wire-to-board connectors to the other side of the LED strip light, the black color will now be positive and the red one is negative. Make sure to carefully secure the tray back in its position, attaching the LED strip light terminals to the wire-to-board connectors. Ensure that the mounting tray is closed, otherwise, the lights won’t work or switch will trip.
Step 8: LED Strip Light and Power Connection
After you’ve connected and properly set up everything, you can start plugging in your LED strip light to the power supply.
Here are some tricks on how to do it:
- Butt Grafts
- Coaxial Cables that contain screw terminals or without.
- Terminal Blocks
- Wire Nuts
Making sure that match the positive and negative signs with the positive and negative connectors from the electricity supply. Keep in mind that when doing this, the power supply must be turned off.
In case the LED strip lights won’t illuminate, keep these things in mind:
- The positive side of the strip must go through the wire-to-board connector to the supply of electricity.
- One of the most common issues is that the wire-to-board connector might be placed in an upside-down way. To fix this, simply reverse the installation and see if it works this time.
- Moreover, you need to ensure at all costs that the tray is closed during the entire installation process. Or it will cause an electric shock.
- If you’re using a 12 volt LED strips with a 24-volt electricity supply, except that the installation will not work. Hence, prior connecting, make sure the power unit coincides with the LED strip light volt.
Conclusion
LED strip lights are the newest trend of today’s lighting system. They are efficient considering the energy consumption and simple to use considering the installation. In addition, it is aesthetically pleasing with various colors and styles.
If you wish to have LED lights installed in your workplace or home, it is best to ask assistance with your local LED light supplier. They can provide what type is best suited for you and your specific requirements.
References:
https://www.connectorsupplier.com/connectors-in-the-led-lighting-era/
https://www.flexfireleds.com/solderless-connector-for-led-strip-light-install-guide/